Level Uneven Tiles and Refinish Travertine Floor
- Home
- Case Studies Level Uneven Tiles and Refinish Travertine Floor
 This what the travertine floor looked like when we first arrived.
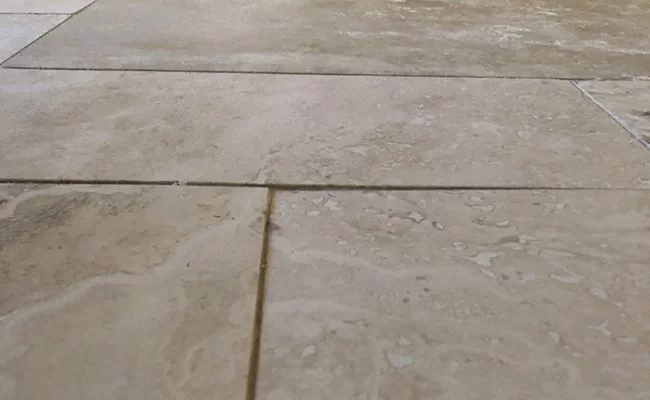 This is a close up image of the uneven tiles. It was taken before any work was done.
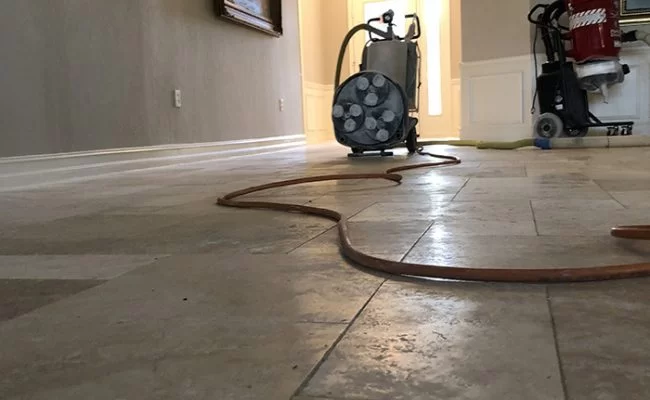
 Can you see the first pass on the left? This image was taken during the initial process.
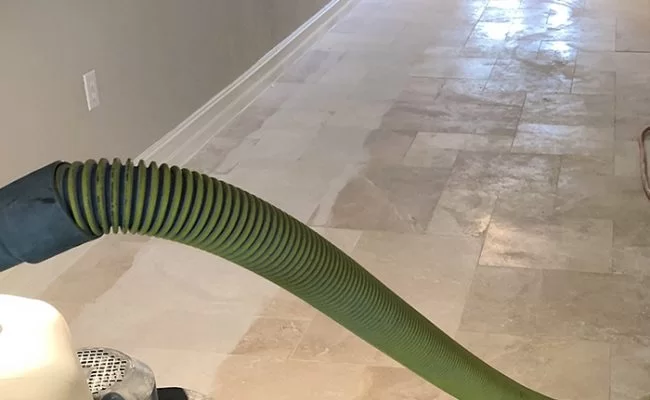 This is the first pass of the leveling process on the travertine floor.
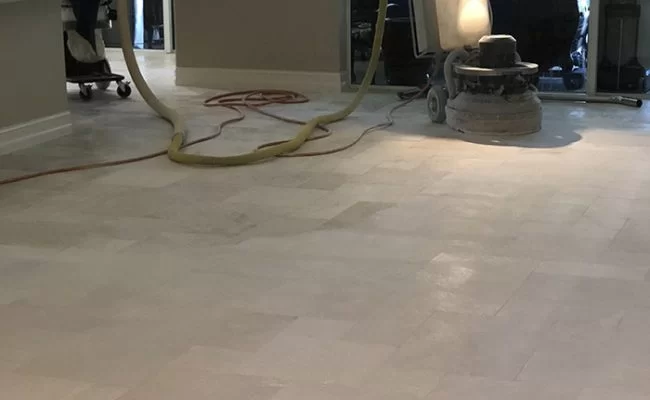 Notice most of the floor has been ground level except the portion in the upper left portion of the image.
 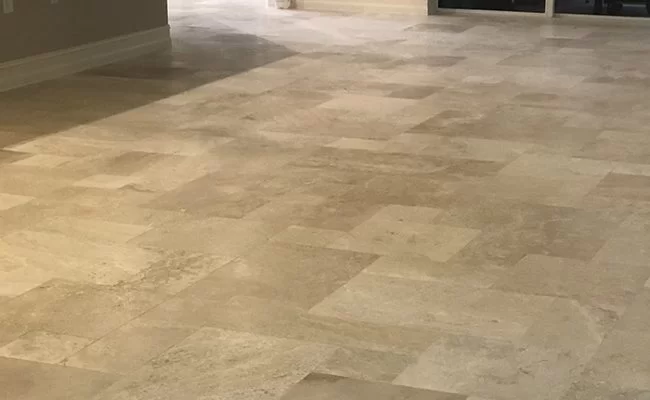 The travertine floor has been beautifully refinished, and it has been leveled and polished.
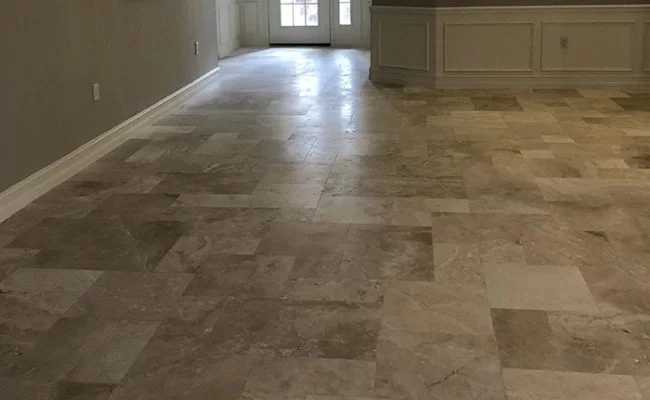 What a difference travertine restoration services can make!
Natural Stone
floor,
travertine
Problem: Uneven Tiles (Lippage)
This client had a new travertine tile floor installed. The job was very poor and resulted in uneven tiles throughout the house. Our client was unhappy with the look and function of their floor.
Solution: Leveling the Floor (Lippage Removal)
Several steps of grinding and polishing were needed to achieve the look that the customer wanted, and remedy the problem.
We began the project with a heavy commercial grinder. On this machine, we placed metal, diamond-infused disks to begin the leveling process. We used a Hepa-rated vacuum and did the first pass over the floor dry, this ensures that all unevenness is taken care of. This first grinding pass is painstakingly slow and often takes 1/3 of the job time to complete.
Once the whole surface is properly leveled and prepared, we begin the process of up-sanding, or bringing back the desired level of shine. We used a series of progressively finer resin-based diamond disks, each one refining the floor to a higher shine. Also, these diamond processes are done with a wet process to minimize dust and help the diamonds cut better.
At the 200 or 400-diamond level, we float the floor with a color-compatible grout, leave it overnight, then finish the process of polishing.
The end result is a perfectly flat floor with the homeowner’s choice of shine.